

The Loadposition Command
How to display Modules inside Articles
The image shown here illustrates a Module being displayed inside an Article using a Custom Position.
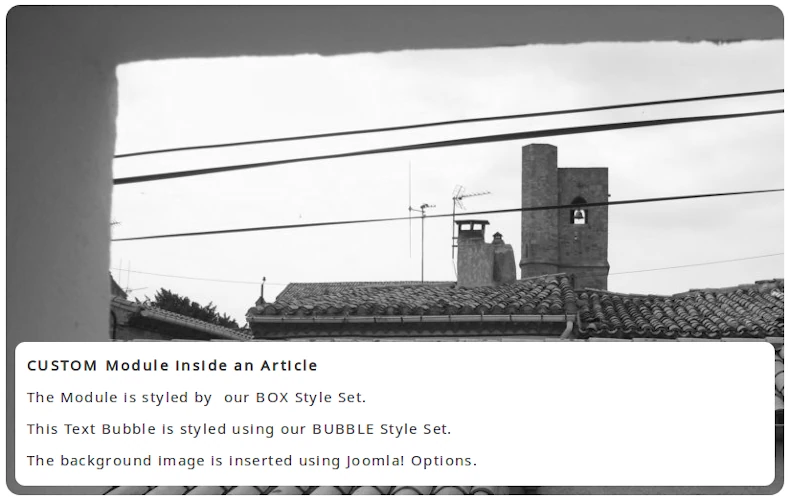
This is achieved using the Loadposition Command.
The Joomla! CMS enables you to create Custom Positions in addition to the ones included with your website's Template.
Using the Custom Positions, Modules can be displayed inside Articles and Category introductions.
For more information about Positions and Position Maps, visit the link below.
Loadposition Syntax
The Loadposition Command syntax we use to insert the above Module inside this Article looks like this:
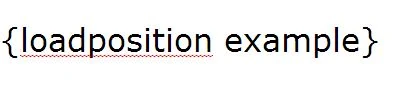
In this example, the word Example is the name of the Custom Position.
The Load Modules Plugin
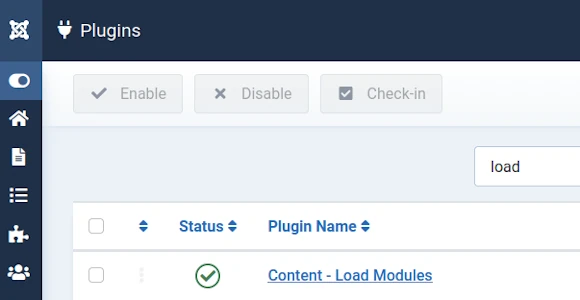
The Content - Load Modules Plugin must be enabled for you to be able to use either Command.
This plugin is enabled by default in a WYNCHCO Website Design - see image below.
How to use Loadposition Command
"To insert a module inside an article, use the command, as follows:
- Create a module and set its position to any value that doesn't conflict with an existing template position. You can type in the position value instead of selecting it from the drop-down list. For example, use the position myposition.
- Assign the module to the Menu Items that contain the articles that you want the module to show in. You can also just assign the module to all Menu Items.
- Edit the articles where you want this module to appear and insert the text in the article at the place where you want the module."
An Example
Follow the steps in the example below to use the Loadposition Command to publish a Module inside an Article.
Create and Assign a Module to a Custom Position
Select a Module in the Modules screen of your website''s Dashboard.
Look for the Position field under the Module tab.
Add the name of a custom Position to the field where it states:
Type or select some options.
See highlighted box in the image below.
Type a custom Position name, taking care to:
- enter a unique name, and
- use only lower case letters without any spaces.
Click the return (or enter) key on your device keyboard when done.
If you don't click return (or enter) then your custom Position will not be created.
The Module will be assigned to the Custom Position when you click Save.

Now that you have created a Custom Position you can use the Loadposition Command to display a Module - using the Custom Position - inside an Article.
See next tab.
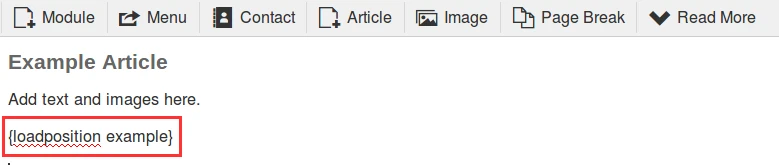
Display a Module inside an Article using Loadposition Command
When you add the Loadposition Command to an Article using curly brackets (as in the image below), it will call the Module you edited to the screen when the Article is viewed in the front end.
Result
The Module you edited will now be visible inside the Article when viewed in the front end.
Image shows a Module displayed inside an Article
JOOMLERS.UK is sponsored by WYNCHCO Solutions
WYNCHCO Solutions help and support managers responsible for Joomla! CMS websites in UK business and third sector organisations across Cheshire, Greater Manchester, Merseyside and North West England.

